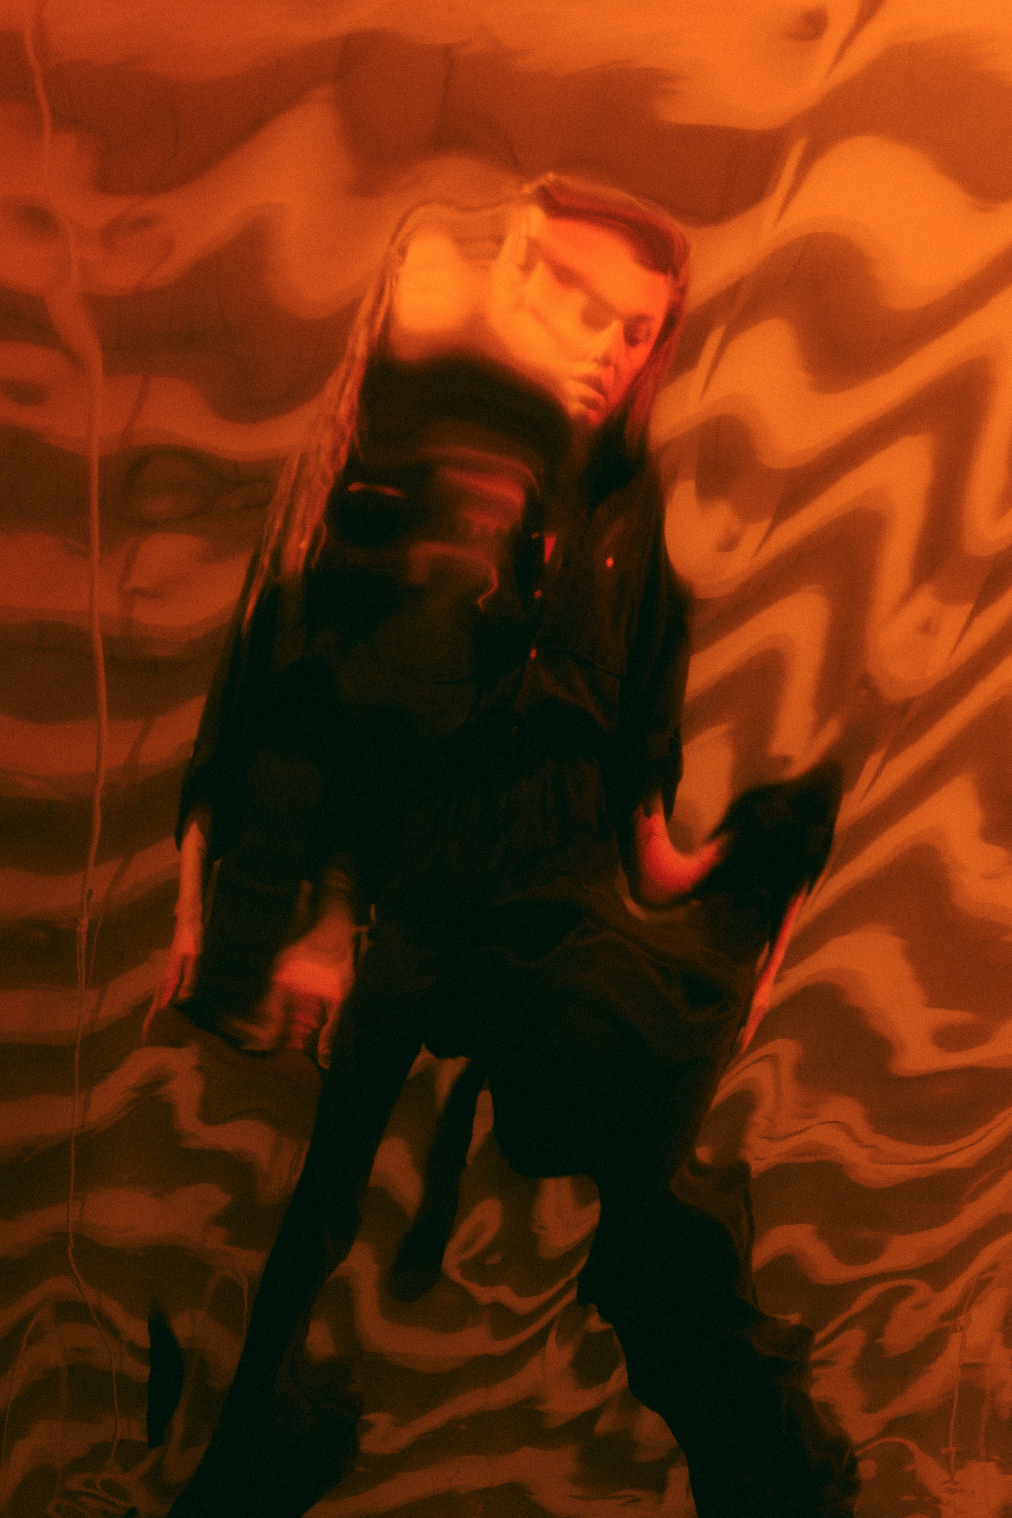
I’ve been experimenting with photographing reflections in mylar for four shoots now, and I’m finally starting to get the hang of it. In order to get a good range of movement in the mylar (which translates to warped reflections), I set up an oscillating fan nearby, and turned it on to the lowest setting. The effect ranges from minimal to so abstract that you can’t even tell what you’re looking at, so there’s a bit of luck involved. Every time the fan would pass over the mylar, it would ripple like pond water after a rock was tossed in, so I basically shot like hell and hoped for something good.
After shooting the mylar vertically a few times I tried laying it on the ground, and had my subject stand over it. The element that’s the hardest to control is the reflection— specifically what all is included in it. As the material ripples, I often find my reflection showing up in images, since I am standing next to the subject, shooting their reflection in the mylar. This also means that if I want them to look at the camera for a shot, they need to pose for my camera’s reflection in the mylar. It takes a while to get used to.
On my most recent shoot with the material, I decided to place on of the lights (yellow) behind the subject, aiming it over her shoulder at her face in the reflection. This caused the light to have a ripple effect on her, as well as added a nice lens flare on the mylar. Those spots on the top left of the frame are her finger prints on the mylar, which were highlighted by the direct yellow light. I want to explore this more by intentionally adding strategically placed finger prints or maybe some honey or oil for more texture.


