The Creative Portrait pt. 2

poster2.jpg
Screen+Shot+2020-03-09+at+11.42.52+AM.png
Screen Shot 2020-04-17 at 9.48.12 AM.png
Screen Shot 2020-04-17 at 9.48.22 AM.png
Screen Shot 2020-04-17 at 10.18.13 AM.png
Screen Shot 2020-03-10 at 7.10.17 AM.png
Screen Shot 2020-04-17 at 10.18.47 AM.png
Screen Shot 2020-04-17 at 9.47.07 AM.png
Screen Shot 2020-04-17 at 10.12.14 AM.png
Screen+Shot+2020-03-09+at+11.47.45+AM.png
Screen Shot 2020-04-17 at 9.48.35 AM.png
Screen+Shot+2020-03-09+at+11.48.27+AM.png
Screen+Shot+2020-03-09+at+1.10.38+PM.png
Screen+Shot+2020-03-09+at+1.11.15+PM.png
Screen Shot 2020-04-17 at 9.49.53 AM.png
Screen+Shot+2020-03-09+at+1.12.10+PM.png
Screen+Shot+2020-03-09+at+1.12.23+PM.png
Screen Shot 2020-04-17 at 9.49.43 AM.png
Screen+Shot+2020-03-09+at+1.13.19+PM.png
Screen Shot 2020-04-17 at 11.59.36 AM.png
Screen Shot 2020-04-17 at 11.58.18 AM.png
Screen Shot 2020-04-17 at 11.59.54 AM.png

The Creative Portrait pt. 2

$50.00

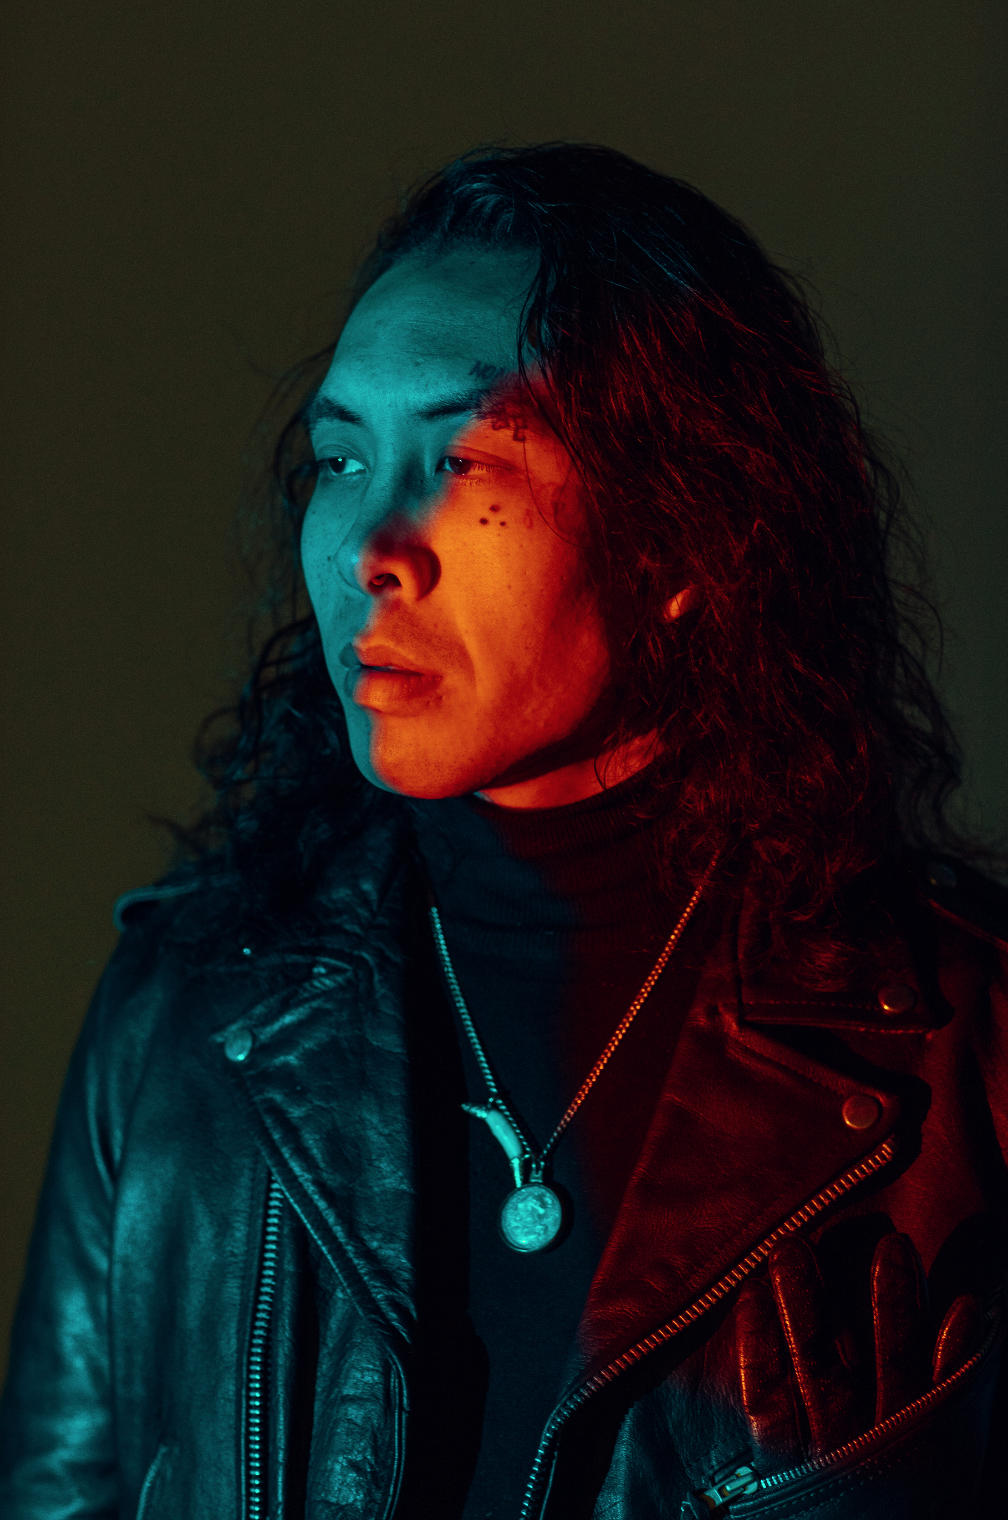
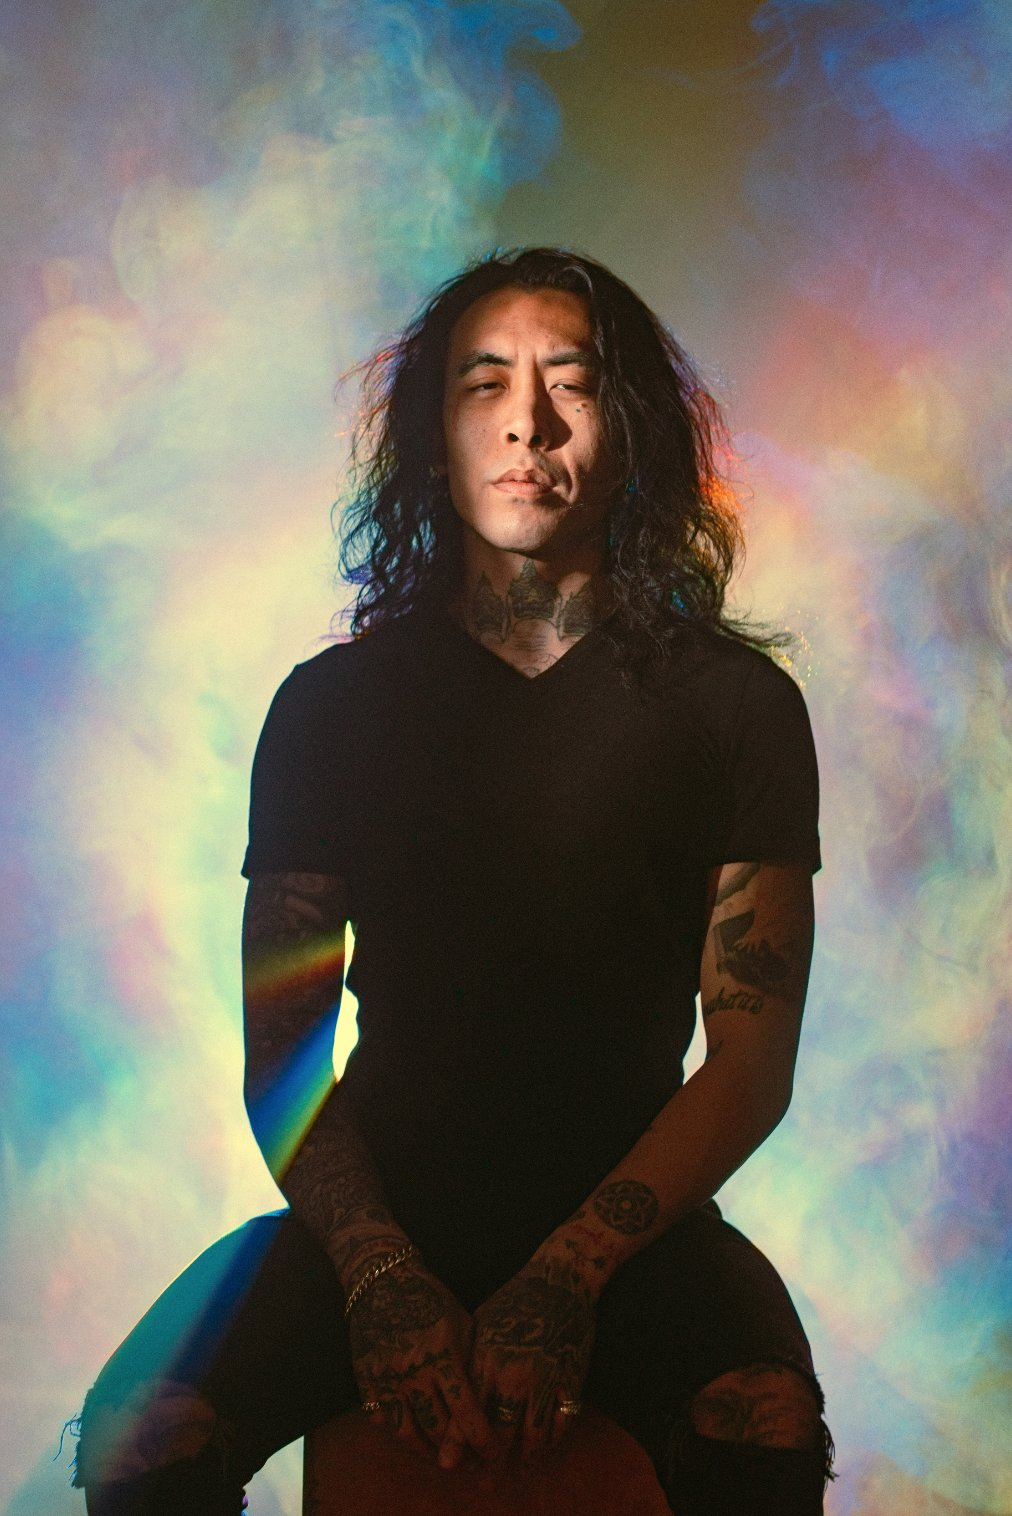
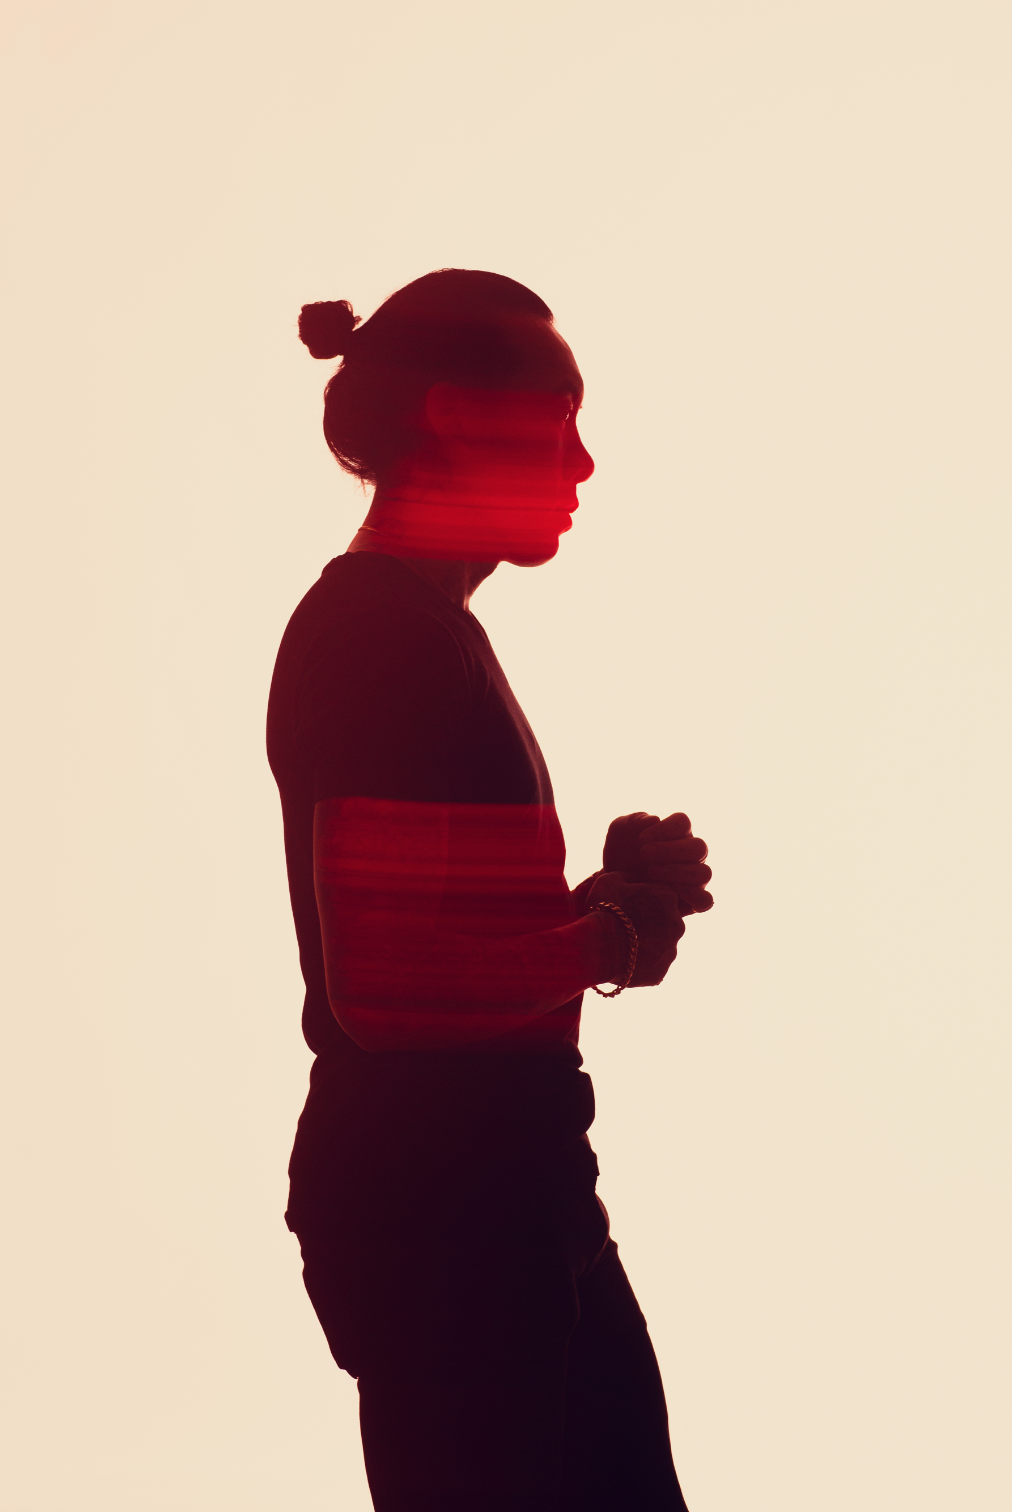
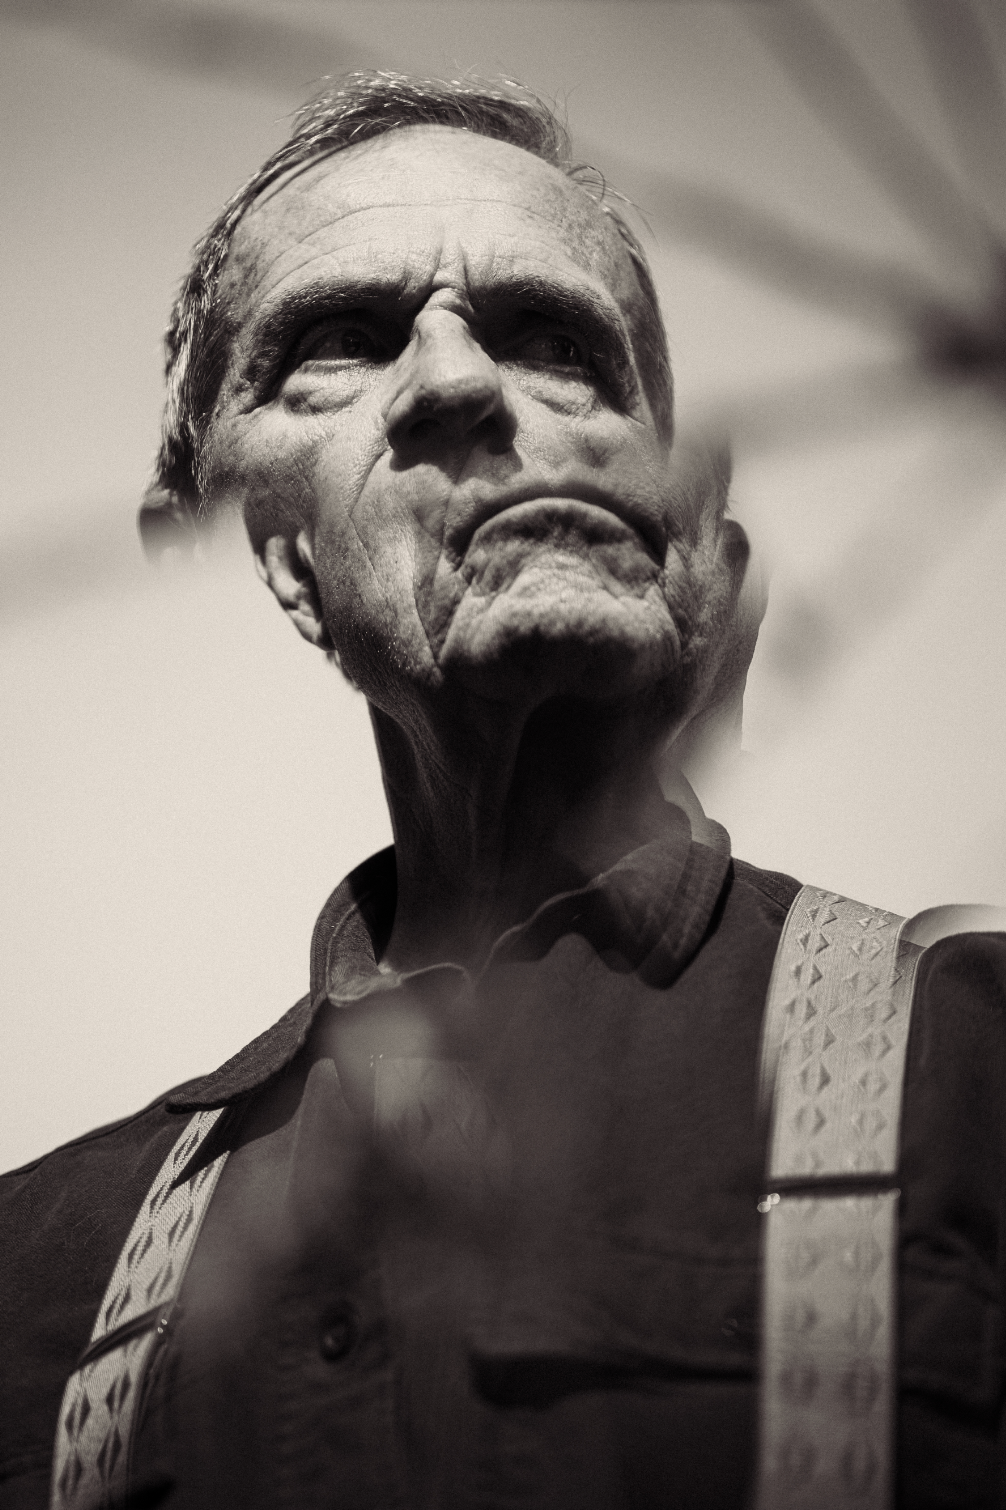
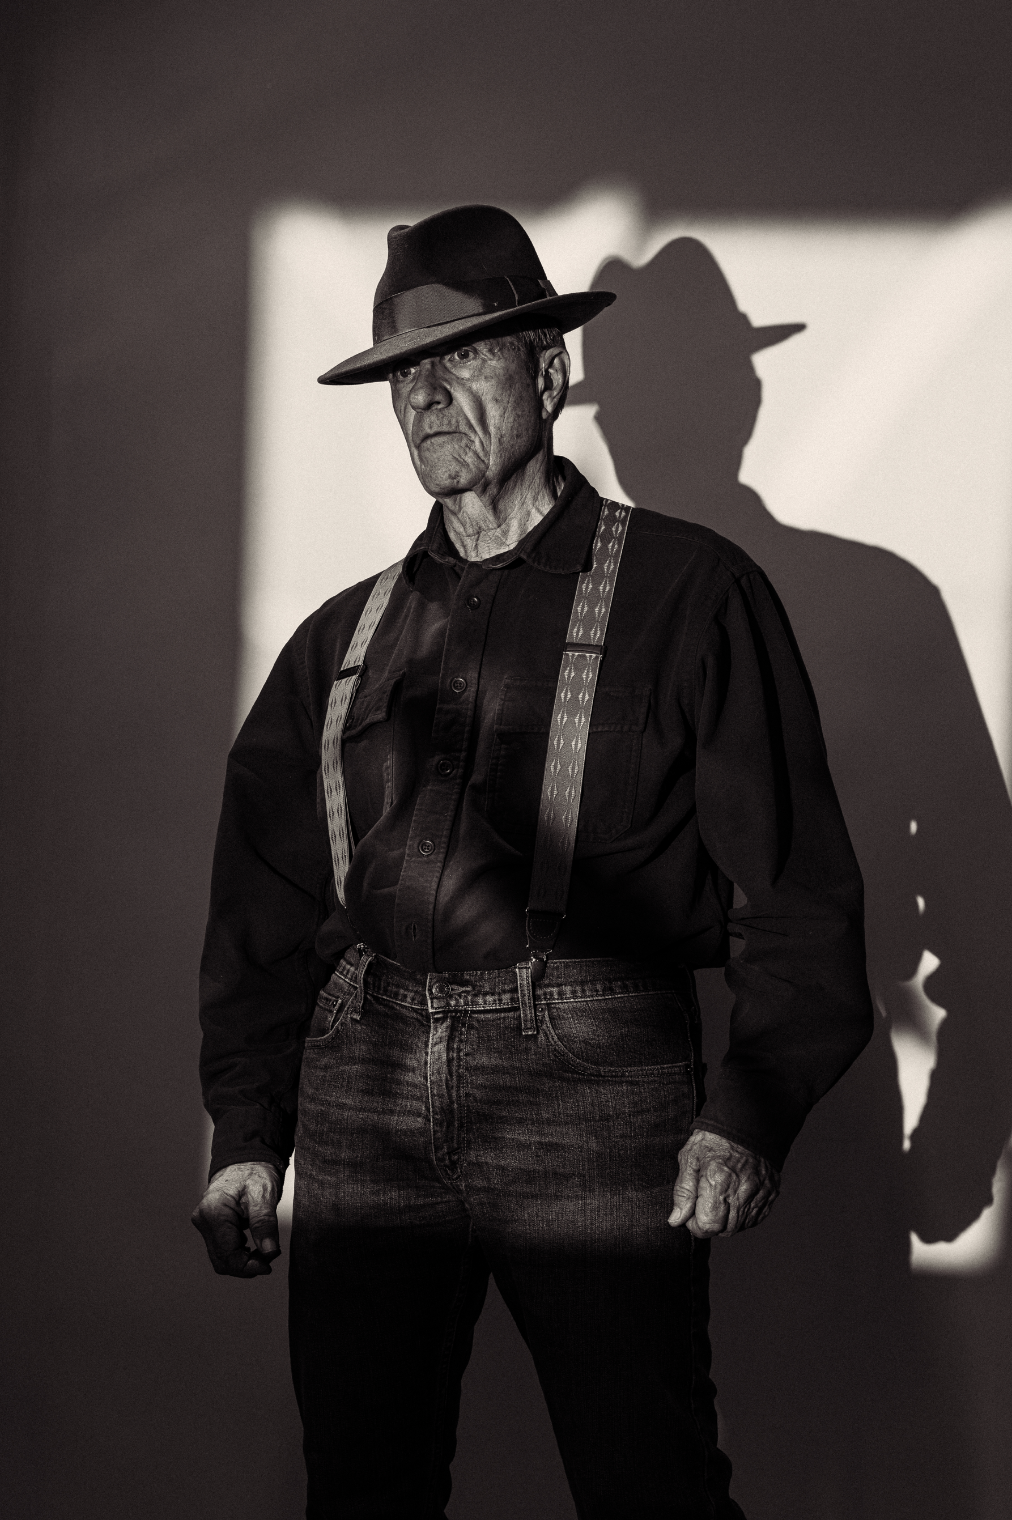
This is the second episode in a video series that delves deep into how I execute creative portraits in my studio. In this episode I cover the following setups:

  • Using a projector as light source

  • Customizing images to project onto my subject

  • Balancing a projected image on my subject with a strobe on the background and a slow shutter speed to create vibrant, kinetic images

  • Projecting custom images as a background

  • Balancing a projected image on the background and a strobe on my subject with a slow shutter speed to create kinetic, vibrant images

  • Customizing the projected image to my subjects features

  • Using a custom snoot on my subject and projecting images through fog to create a colorful haze

  • Using a gelled LED on my subject and a strobe on my background with a slow shutter speed to get subtle, painterly results

  • Shooting the reflection on a cracked mirror to get a prismatic result

  • Bouncing a light into a cracked mirror to reflect the shape of the cracks onto my subject

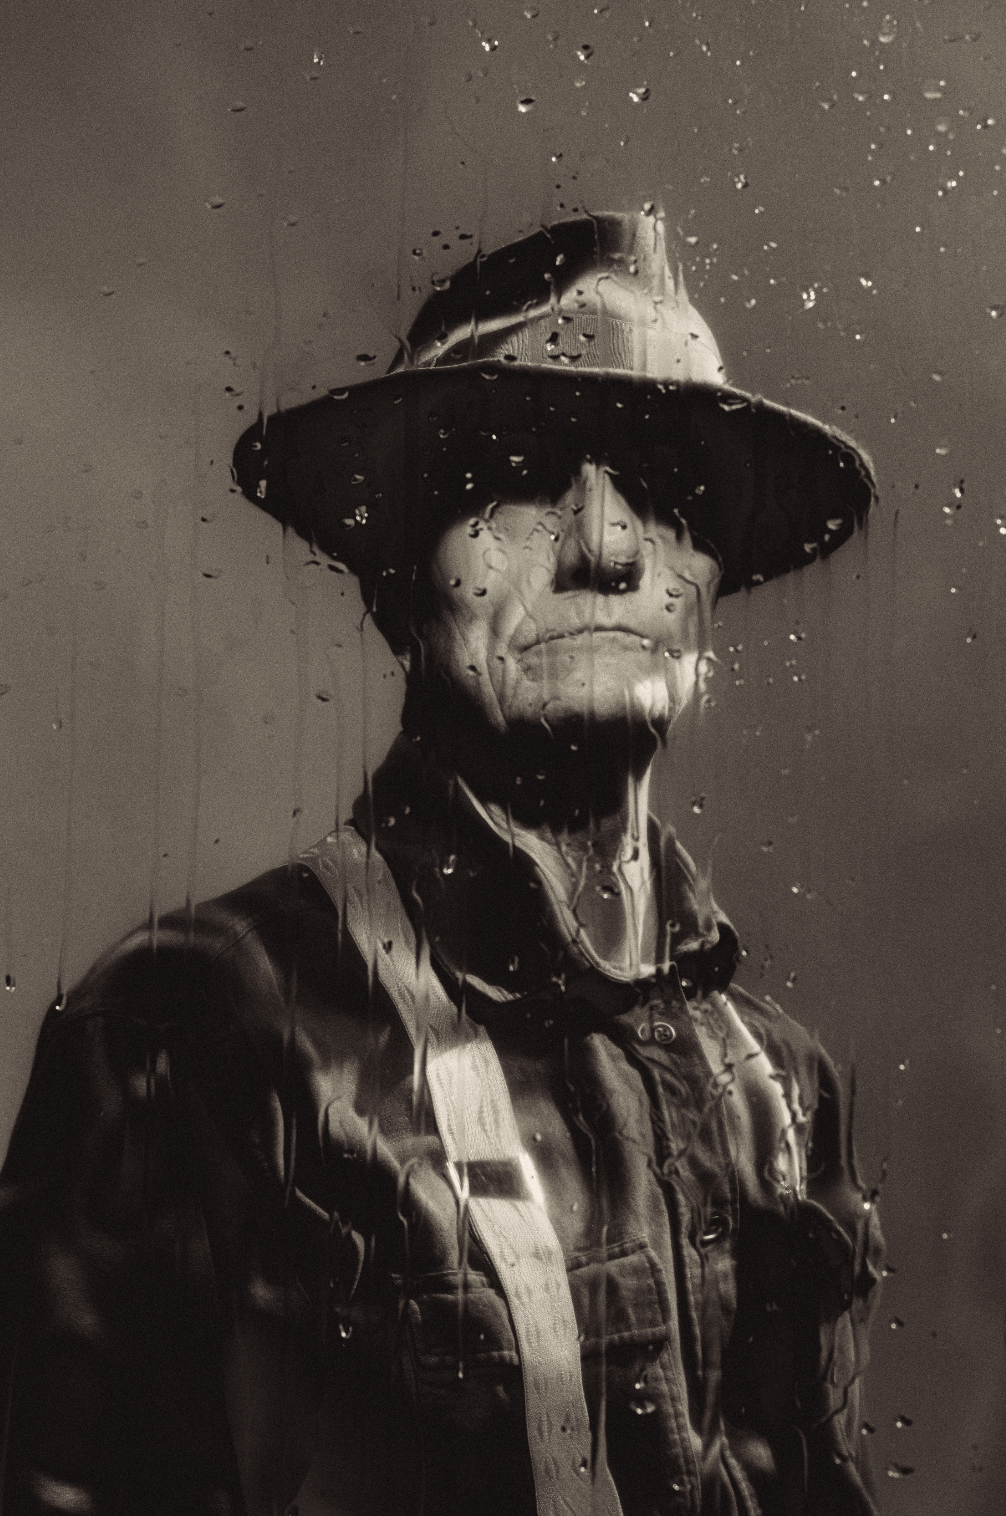
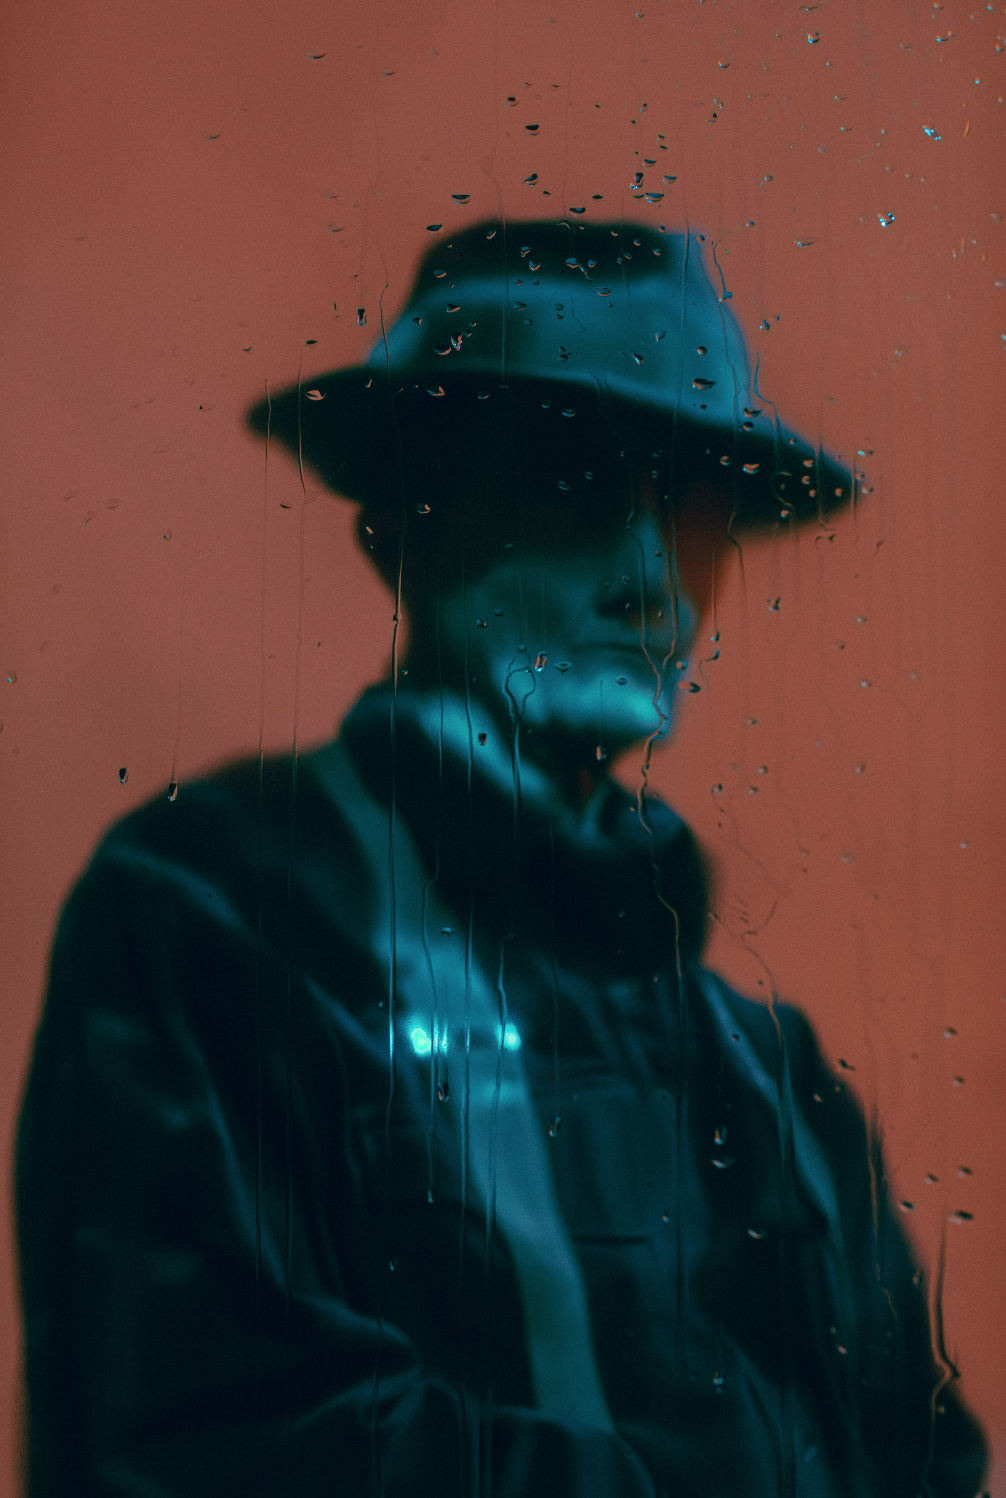
  • Using mylar to create warped reflections of my subject

  • Adding water drops to mylar to create an added layer of texture

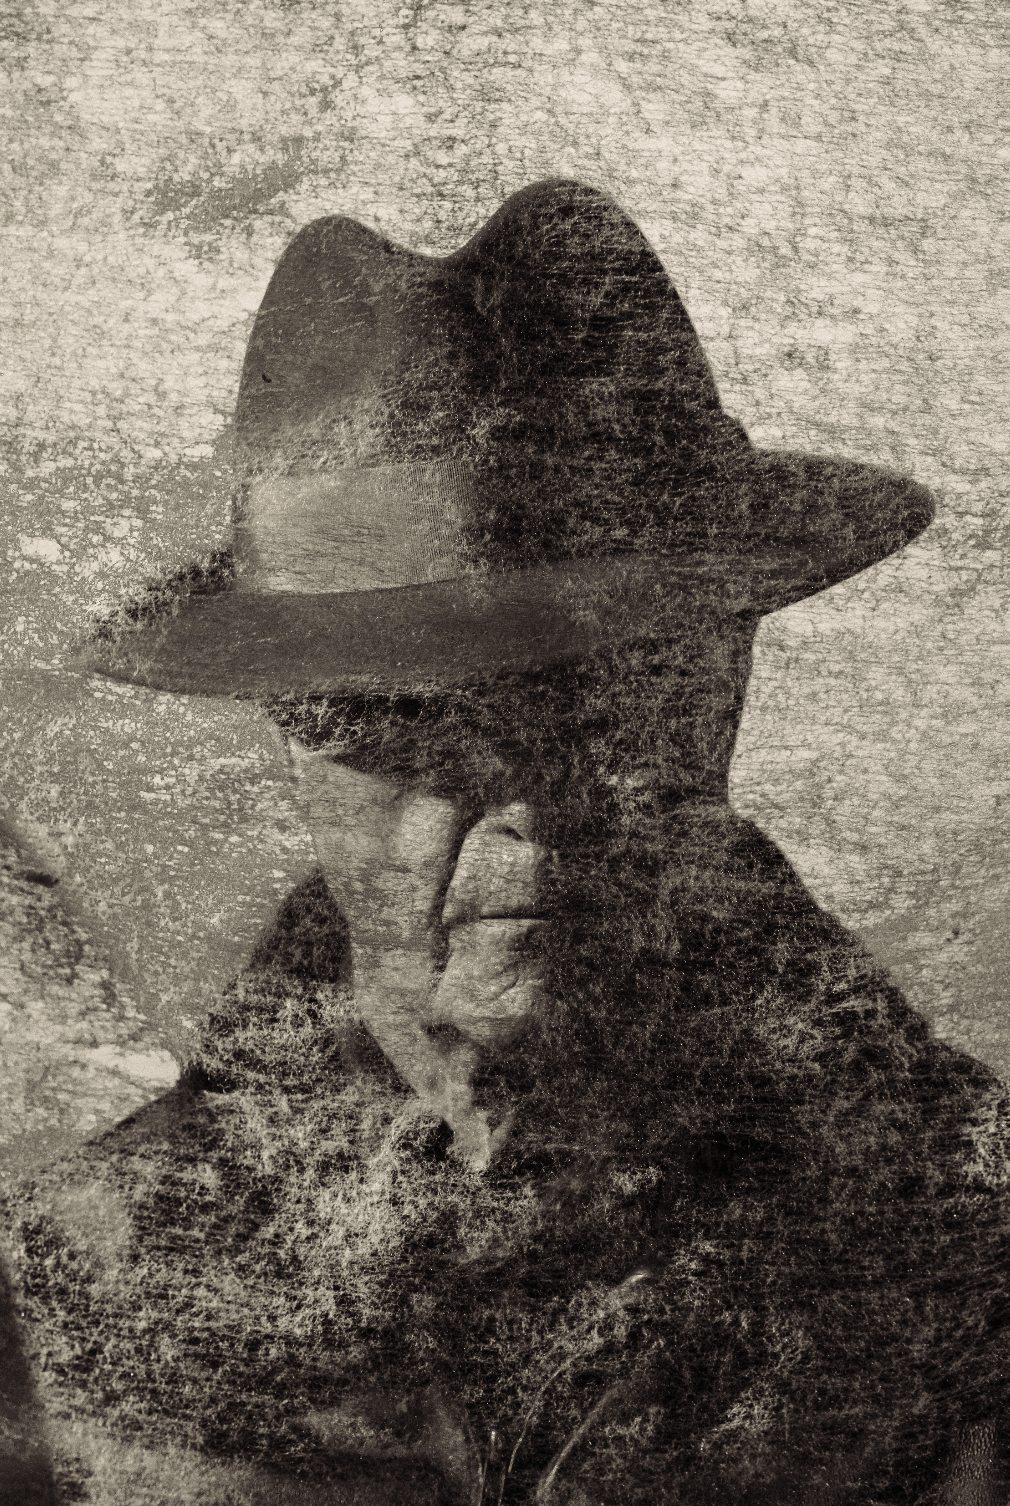
  • Shooting through an air filter to create textured, painterly images

Once I begin breaking down a certain technique, my camera and light settings are displayed on the screen along with real-time raw files to make it easy to follow along. I also take you through how I color grade the file in Lightroom. Note: there is a Lightroom preset pack based off the color grading in this episode, which is available for purchase in the shop.

Watch a sample of episode one, here.

Technical Specs

  • Running time: 1 hr 32 min

  • Kind: MP4 1920x1012

  • Size: 1.9 GBs

  • Available for streaming and/or download via Dropbox

Add To Cart